Signup Forms
Signup Forms are GoDaddy Email Marketing’s email collection forms. Use these forms to create a sign up box or link on your website, blog, or social page. All contacts that sign up through your forms are automatically added to your subscribers. The perfect way to gain new subscribers! :)
How To Create New Forms:
Find the Signup Forms option at the top of your page. Click there to go to your Signup Forms area.
Now we'll focus on the three main elements of your forms:
Name and Title
Give your form a name, at the top of the right sidebar. This name is for your reference only, it won't display on the actual form that your subscribers see. Generally a name like "Blog Subscribers" or "Facebook Form" or anything to help you remember where you're sharing the form works best.
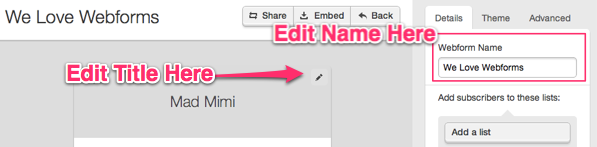
Your form Title will display at the top of your form, unless you add a custom image. By default, your Company Name from the Settings area displays here. To edit, click the pencil icon. You'll see your changes immediately in the form builder.
Connecting Lists
Click the Add a list drop down menu to choose the subscriber list where you want your new subscribers to go. You can add as many or as few lists as you want!
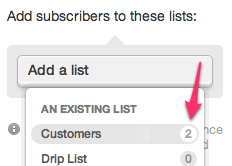
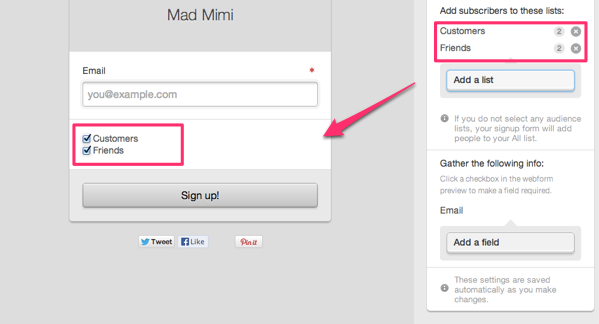
If you choose no list, all new subscribers are added to the All list, only. If you choose multiple lists, those lists will appear as checkboxes in your final form.
Adding Fields
The only required field in your signup forms is the email field. Use the Add a field drop down menu to add any additional data fields that you want to collect. You can have as many or as few fields as you need :) If you're not sure what data you need to collect, Name and Email is usually a great place to start. Don't worry, you can always expand your form later.

If you want to add a custom field, that's great! Just click on the Fancy field button, under Add a field. You can use this to add custom text fields, dropdowns, radio buttons, checkboxes or dates! You can definitely capture the exact info you need from your subscribers with these options.
Once you've added an extra field, you can always remove it, if needed. Just click on the little grey X button, next to the field name, on the right sidebar.
Required Fields
You can make any additional field (like Name) required. To do this, check the box in the preview area on the left next to the field name. When you make a field required, a contact must fill in the information in order to successfully subscribe to your list.

That's it! We've covered the basics. You're now ready to add your signup form to your site, or learn more about the advanced and theme options. You can also learn more about customizing your own Fancy Fields!
Related Topics:
Customizing Signup Form Design
Can I Add A Form to my Campaign?
What Are The Advanced Form Options?
How Do I Share My Signup Form?