Adding a Banner Image
The banner image is the really cool image that goes across the top of your email campaign. Choose an image that defines your company or your newsletter’s vibe. You can often grab an image from your own archives, but if you don’t have anything readily available there are plenty of free resources where you can find the ideal image.
Once you've found your image, upload it to the image editing program of your choice. Spend some time cropping, editing and adding text to your image to capture the right tone.
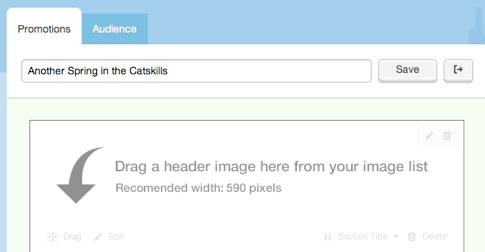
NOTE: Save your image to 590 pixels wide for the most efficient rendering and loading.
To Add a Banner Image
- Log in to your account.
- Click Edit under the campaign you want to work on (or Compose to begin a new campaign).
- In the sidebar, click Browse to find your banner image file, on your computer.
- Select the image you want and click Upload Image.
- Once the image is uploaded, simply Drag the image from the sidebar and Drop into the banner area. Then you're done!
We are partial to banner images, but if you have a campaign that calls for something a little different, we understand! If you’d like to skip the step of including a banner image, feel free! Some tips:
In your edit space, the banner area will still display with the Drag a header image here instruction:
Don't worry! The campaign won't go out looking this way. The view your bannerless campaign, simply click Preview in the top right corner of the composer page.
Even without a banner image, you can still add themes, colors, fonts and more to add flair to your campaign.