Get to Know Your Dashboard
You will always first see your GoDaddy Email Marketing Dashboard, whenever you log into your Email Marketing account. This is the home for all the email newsletters that you've created, in GoDaddy. Here is where we'll find several cool tools to help you effectively manage your Email Marketing content. Starting from the top, we have...
Your Campaigns
In the large, center section of your dashboard, you'll see a thumbnail and summary representing each one of your newsletters. If you click on that thumbnail, you can preview the campaign, as it is.
Newsletter Statistics
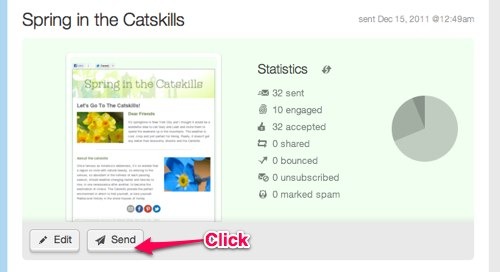
To the right of that thumbnail, is a stats summary. These numbers and the pie chart are showing total overall stats for that campaign, including every time it was sent. If you click on any of those metrics, then you'll get to the detailed overall mailing stats for that campaign.
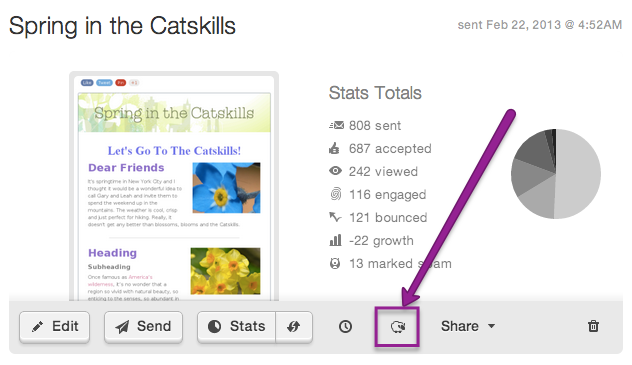
In order to see the stats page for the latest mailing only, just click on the Stats button, below the thumbnail: Viewing Statistics for a Single Mailing .
You can refresh your stats for any campaign, at any time, by clicking on the little circular arrow button, next to the Stats button, underneath the campaign thumbnail. Your stats display will be unavailable while GoDaddy refreshes these statistics.
Read more about your email statistics.
Campaign Tools
Edit: You can open this campaign for editing by clicking on the Edit button, underneath the thumbnail.
Send: And you can send the campaign, from right here on the Dashboard, by clicking the Send button, next to that.
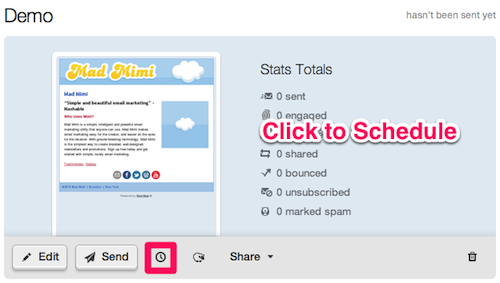
Schedule: Click the clock button to schedule the campaign (Scheduling a Campaign to Send Later ), for sending at some time in the future. It will turn red when you've successfully scheduled your campaign. In order to edit any scheduled mailings, just click on the Scheduled Mailings button at the bottom of the right-hand sidebar, underneath your tiny thumbnails on the right.
Clone: The sheep button will "clone" a campaign, making an exact copy of that campaign, on your Dashboard. GoDaddy will add an incremented number to the campaign title, so you can tell which copy is the clone. You'll also see a little sheep icon in the top right of the thumbnail tile, so you know that it's a copy.
Share: When you click on the Share button, you'll see a list of social platforms, and the GoDaddy URL for that campaign. If you've enabled the social sharing buttons in the email, then you can click on any of these to directly share the newsletter on any of those networks. (Remember: The social sharing buttons are different than the social icons, in your email footer. You must have enabled the social sharing buttons WHEN SENDING, in order to have these social options function properly.) You can always copy the URL here and share that anywhere you'd like.
Delete: If you want to delete the campaign, just click on the trashcan button, all the way over on the right of the campaign tile.
The Sidebar
Selecting Newsletters
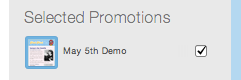
If you click on any campaign on this sidebar, then it will show up to the left, in the main area of the page. The campaigns will display in the same order they are listed in the sidebar. You will also see them added to a new list, at the bottom, showing you which campaigns are selected.
Click here for more information on selection emails from your sidebar: Check Boxes on Dashboard Sidebar .
Browsing Older Campaigns
If you look to the right of your Dashboard, you'll see a grey panel with teeny tiny thumbnails, and titles, of all your campaigns. This is a big list of all the campaigns that exist in your account.
This is how you can view those on other pages, if you have many campaigns. Older newsletters might not automatically show up in your "Recent" listing that is large, in the middle. You can click on a specific page to jump to it, or you can browse through the pages using the little arrows.
Grouping Newsletters into Folders
If you want to consolidate any of your campaigns into a single group, you can do that here, too. Drag any teeny tiny campaign thumbnail, on the right, on top of any other teeny tiny thumbnail, and let go. Voila! A group.
GoDaddy will give you the opportunity to name this folder, right when you first create it. You can also edit the name of this group, at any time, by clicking on the pencil icon, next to the group name.
If you want to add or remove a campaign from this group (Remove a campaign from a group), just drag a campaign from inside to outside the folder, and GoDaddy will remove it. If you only have 2 emails in a folder, and you drag one of them out, GoDaddy will automatically remove the group altogether (Delete a campaign group).
Next to the group, you'll see a badge with two numbers (What the numbers next to your campaign group mean). The grey number shows you how many campaigns you have put into this group. And if you have any campaigns in the group selected, the number will change to indicate that.
Read more about grouping newsletters into folders: All about campaign groups .
Searching Pre-existing Emails
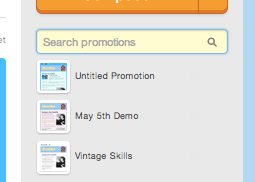
You can also use this area to search through all of your campaigns (Find an existing campaign). Simply type your query into the search bar, at right -- GoDaddy will automatically begin searching your newsletters, when you enter text in this field. Your search results will display in that grey panel, in a list. You can click on the thumbnail to pin it to your large, center dashboard list.
Now that we've come to the end of our crash course in your GoDaddy Email Marketing Dashboard, get out there and get emailing!