Upload Files and Create Download Buttons
Print this Article
Last Updated:
July 6, 2015 10:57 AM
Website Builder enables you to upload files of up to 30MB, and then link them to a clickable button on the page. That way, your site's visitors can choose to view a long Word document or a spreadsheet offline.
This method is not intended for uploading image or audio files. Instead, see Adding and Editing Images and Adding an Audio Player. You cannot upload files ending with htm, html, htmlx, js, asp, aspx, mht, php, exe, gem, xpi or dll.
- Log in to your Website Builder account.
- Click Edit Site.
- Drag and drop
 onto the page, or select an existing button.
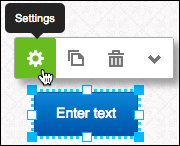
 - Click the button and choose Settings.

- In the Settings window, next to Label, enter the text you want the button to display.

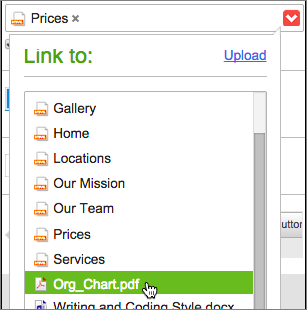
- Next to Link, click the red arrow to:
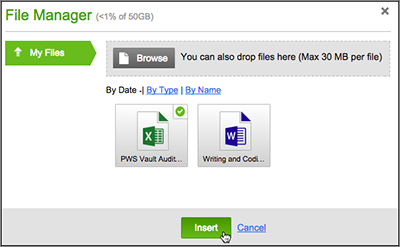
- Click Upload to transfer a new file and click Browse to find the file on your local drive.

An icon of the file is added to the File Manager. Click the file, and when the green checkmark is displayed, click Insert.

NOTE: There's a 30MB limit on any uploaded file (more info).
- Click Upload to transfer a new file and click Browse to find the file on your local drive.
- Use a previously uploaded file by selecting it in the Link to list.

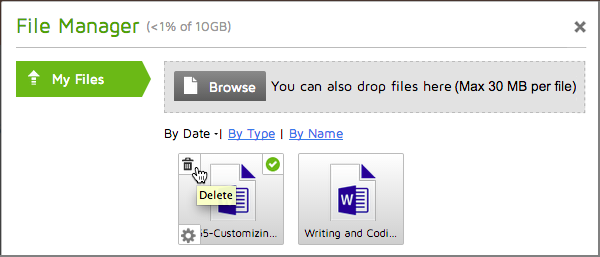
- Delete a previously uploaded file, by clicking Upload and then clicking the file's Trash icon in the File Manager.

- Click x to close the window and return to your page.
- If you upload a text or PDF file, you can have it open in a new window by selecting the checkbox below the Link field. (Other file types, such as a spreadsheet, will simply download rather than opening in a new window.)

- After making your choices, click Save at the bottom of the Settings window.
- Click Preview to see your changes as they'll display on your web site.
- When you're satisfied, click Publish and confirm your choice by clicking Publish again.
- A window displays a link to your site, which you can click to see the published changes. Or click Close.
- When your page reappears, click Exit Preview.