Adding and Editing Images
When you select a theme for your website, it already comes with images. But we understand you might have images of your own that you want to display on your site. That's why Website Builder v7 lets you add and edit your own images. To add links to images, see Linking Text or Images
NOTE: Images need to to be formatted as .jpg, .jpeg, .gif or .png files. Image uploads are limited to 30MB per file. While images as large as 5000 x 5000 pixels can be uploaded, images will not be displayed larger than 1920 x 1080 pixels.
To Add Images
- Log in to your Website Builder account.
- Click Edit Site.
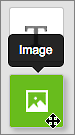
- From the left-hand toolbar, click and drag the Image tool to where you want the image to appear the page.
- From the Choose Photos window, select one of the following options:
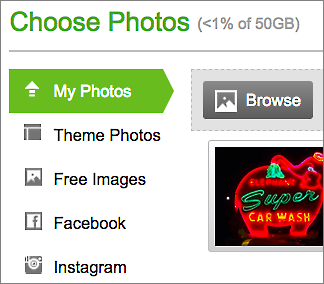
- My Photos — Click one of the images in the grid or click Browse to select an image you want to upload from your own computer, and then click Open.
- Theme Photos — Click to select one of the images included in the Website Builder v7 theme already installed on your site.
- Free Images — To select an image from our library of free images, enter a search term to find specific images in the library, or select a category from the All categories menu.
- Facebook — To import images directly from your Facebook® account, click Connect to Facebook, log in to your Facebook account, and then click Log In with Facebook.
NOTE: To disconnect from Facebook afterward, go to your Facebook account settings, click Apps and then click X next to Website Builder.
- Instagram — To import images directly from your Instagram® account, click Connect to Instagram, log in to your Instagram account, and then click Log In with Instagram.
- After selecting the image you want to use, click Insert.
- If you need to reposition the image, click and drag it on the page.
- If you need to resize it, click and drag any of the blue squares along the image's edge. The image will keep its proportions.

- If you want to adjust the image in other ways, see To Edit Images with Website Builder v7 below. Otherwise, click OK.
- When you're done making changes, click Publish to update your site online.
NOTE: You can use text boxes to label images. Drag and drop a text block next to (or even on top of) an image (more info). You can then edit or move the text at any time. (Business and Business Plus Website Builder plans also enable you to add text directly to an image using the Advanced Editor, but the text cannot be changed or removed once you save it.)
To Edit Images
- Log in to your Website Builder account.
- Click Edit Site.
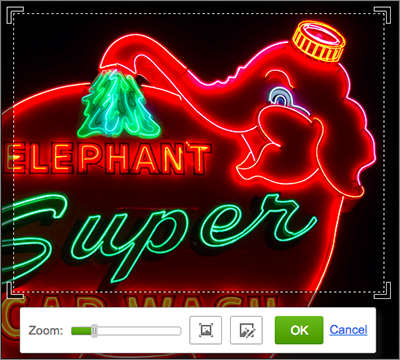
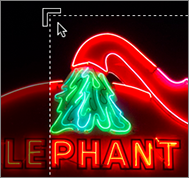
- Double-click the image to display the zoom and crop tools.
- Drag the Zoom slider to show just part of the image, while preserving its overall proportions.
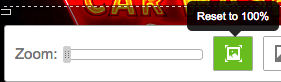
NOTE: To return the photo to its "unzoomed" size, drag the slider all the way to the left. Clicking the button next to it resets the image to the file's original dimensions, which are often larger than the frame you created with the Image tool.
- To crop the image — independent of its original proportions — click on any corner and drag it. (If you want to keep the original proportions, press Shift while dragging a corner.)
- To reposition the image within the crop or zoom frame, click and drag the image.
- Click OK when you're done zooming or cropping.
- To make other changes to the image, click the image and click a button in the image toolbar:
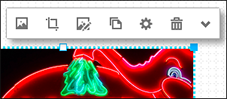
Image editor toolbar Button Name Action 
Replace Image Opens Choose Photos window; explained above in To Add Images with Website Builder). 
Crop Image Crops image; explained in Step 5 above. 
Image Editor Opens the Advanced Image Editor, which is only available for Business and Business Plus Website Builder Plans. It enables you to add effects, such as a background color, a border, rounded corners, transparency, and a margin. 
Make a Copy Duplicates the image and places it on the page overlapping the original. 
Settings Opens the Settings window, where you can use the Image Settings tab to link images to pages or apply various edge styles. Or use the window's Advanced tab to open the Advanced Image Editor explained above. 
Delete Removes the image 
More Displays a menu with to control the image's layers, lock its position, show it on all site pages, hide on your mobile site, or open the Settings window's Advanced tab. - Click Publish to update your site online.
For a linked list of Website Builder v7's other major tasks, see Using Website Builder