Adding and Editing Text
Website Builder v7 lets you add and edit text anytime you want. You use the text editor to change the style, color, and alignment of any text you select within the text box. You can also use the text editor to add hyperlinks (more info) and tables (more info). Editing the Text Settings box — explained in the second section below — lets you apply effects to the entire text box.
To Add and Edit Text
- Log in to your Website Builder account.
- Click Edit Site.
- To switch to another Web page, click the page menu, and select the page in the menu.
- From the left-hand toolbar, click and drag the Text tool onto the page.
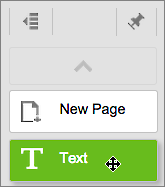
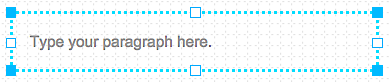
- You can begin entering text in the box immediately.
NOTE: You also can copy and paste text from other documents into the text box. While you can copy and paste a Microsoft Word document into the text box, the font styling (font size, color, and bold, italic, etc.) will be lost.
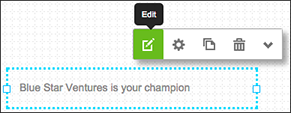
- To change the appearance of text in the box, right-click inside the text box, or click it once and choose Edit to display the text editor.
-
Select text in the text box that you want to change and click the appropriate button in the text editor.
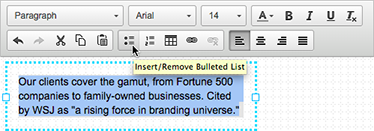
NOTE: In addition to applying bold, italic, and another color or size to text; you can change its font and alignment, add bullets or numbers to paragraphs and convert paragraph-style text to a heading or block style. (Also see Linking Text or Images and Adding and Editing Tables.
- To make changes to text box itself, click the box and click a button in the text box toolbar:
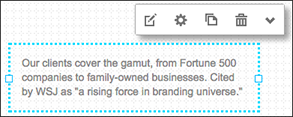
Text box toolbar Button Name Action 
Edit Text Displays the text editor 
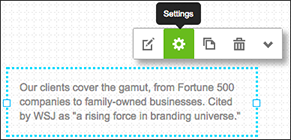
Settings Opens the Text Settings window; explained below in To Edit Settings for the Entire Text Box. 
Make a Copy Duplicates the text box and places the duplicate on the page overlapping the original. 
Delete Removes the text box 
More Displays a menu to control the layer position of the selected text box, lock/unlocks its page position, shows it on all site pages, or hides it from your mobile site. - Click
 to save your work.
 - Click Publish to update your site online.
To Edit Settings for the Entire Text Box
- Log in to your Website Builder.
- Click Edit Site.
- To switch to another Web page, click the Page menu and select the page in the dropdown menu.
- Click the text box you want to edit and click Settings.
- Use the Text Settings box to add or edit effects for your selected text box:

- Background Color: Besides setting the color with the first box, you can select Gradient to blend that color with a transparent block or second color. Click the little switch-block arrow to toggle the blend direction between vertical and horizontal.

- Border: Click the box (set to transparent by default) to choose a color, click the middle arrow on to select a border style and then set the border width by entering a number in the px field.
- Shadow: Apply one of four lighting effects to text box's edge.
- Rounded Corners: Drag the slider to the right to increase the rounding.
- Transparency: Drag the slider to the right to make the entire box — and the text within it — more transparent.
- Margin: Drag the slider to the right to add more space around the text in the box.
- Size: While you can resize the text box by dragging any corner, entering numbers in the Width and Height fields makes it easy to specify a particular dimension.
- Click to save your work.
- Click Publish to update your site online.
NOTE: One handy use for text boxes is labeling images. Drag and drop a text block next to (or even on top of) an image. You can then edit or move the text at any time. (The Business and Business Plus Website Builder plans also enable you to put text within an image using the Advanced Editor. However, the text cannot be changed or removed once it's saved.)
Next Step
- For a linked list of Website Builder's other major tasks, see Using Website Builder.